| |
| How it works: |
| |
| A |
Load Materials. |
| B |
Pick & Paint. |
| C |
Edit Materials. |
|
| |
|
| |
For more details, please follow the step-by-step instructions below. |
| |
|
|
| |
|
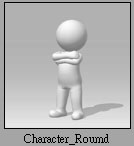
| A-1 |
Apply an Avatar (eg. Character_Roumd). |
| |
 |
| |
|
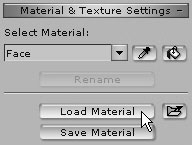
| A-2 |
Load a Material in Actor/Skin/Material & Texture Settings. |
| |
 |
 |
| |
|
|
Choose the desired Material. (eg. Plastic.iMtl) |
| |
|
| |
|
|
| |
|
| B-1 |
Click the Bucket button. |
| |
 |
| |
|
| B-2 |
Apply to every white body part. |
| |
|
| |
|
|
| |
|
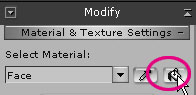
| C-1 |
Select the Diffuse Channel and launch the texture to use the photo editing software of your choice. (e.g. Photoshop). |
| |
|
| |
|
| C-2 |
Save and Update. |
| |
|


