Dynamic Terrain Texture - Detail Map
In addition to the color texture paint approach which the painted result
immediately fixed in the map, EarthSculptor also introduces the Detailmap
method which users can use to quickly prototyping terrain texture. Since Detailmap retains
the mask and texture UV of each texture instance, it can be dynamically allocated, tiled or swapped even after
you paint. You can also generate geologically believable terrain texture by giving the height and slope angle
constraints.
Initial Settings
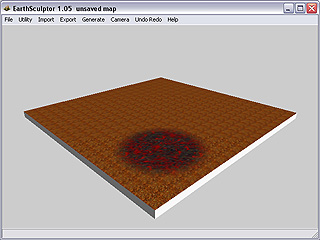
In order to see the Detailmap result, you must first turn it on in the Terrain
panel. Also be sure to select Add Minus Half selection in the
Color Mode drop down list as the terrain turns to be dark.
You can then blend the Detailmap with the Colormap appropriately.
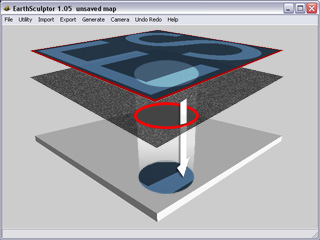
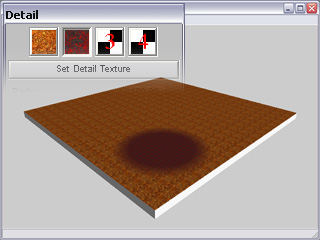
The Basic Concept of Detailmap
When you decide to cover terrain with Detailmap, you may assume that there are
two invisible image plans hanging above the terrain, one is the texture image and the other is the mask plan.
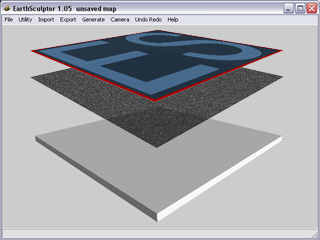
When you paint on the terrain, you are actually modifying the mask plan so the texture plan may project
texture through the mask plan onto the terrain.
|
Note:
|
|
The mask plan for the first channel of Detailmap is off by default. Therefore,
if you load a texture image for the first channel, the texture will always cover the terrain
holistically.
|
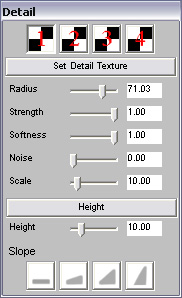
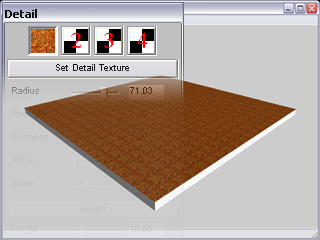
Set Detail Texture
-
Please press down the Detail  button in the
Toolbar. Detail panel shows.
button in the
Toolbar. Detail panel shows.
-
Click Set Detail Texture button. Locate a desired image (TGA, DDS, PNG or BMP)
and click Open to load and replace the original check board image.
-
For channel 1, the target image tiles the whole plan as soon as it is loaded
since the mask is off.
-
For another channel, the target image is masked out. You must paint on the terrain to modify
the mask to reveal the texture.
|
Note:
|
|
Please refer to
Color Painting
for more information about the Height and Slope
features.
|
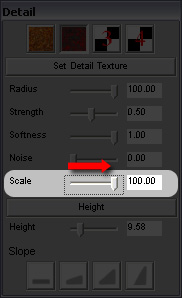
Detailmap Scale Setting
The Scale for Detailmap facilitates you to adjust the tiling times of the target
texture image while the mask modified remains its appearance. Take the example above
for instance:
-
Toggle the channel button for the scale size you wish to modified.
-
Drag the Scale slider from 10 to 100.
-
The tiling time changes accordingly. Please notice that the strokes on the terrain are not affected since the
strokes are on the mask of each channel.
-
You may also change the Scale value for channel 1 in the same manner.
