| |
|
|
| |
|
How it works: |
| |
| A. |
Collect HDR images and Apply them to your film. |
| B. |
Adjust the Atmosphere (HDR, Light, Atmosphere...etc).
|
|
| |
|
| |
For more details, please follow the step-by-step instructions below. |
| |
|
| A. Collected HDR Images and Apply to Film. |
| |
| |
The HDR (High Dynamic Range) effect in iClone accurately represents the wide range of intensity levels found in real life high contrast scenes as result from direct sunlight and shadows. |
| |
|
| |
If You need more information about HDR, please click here. |
| A-1. |
Please visit USC - Institute for Creative Technologies Graphic Labs web site for more HDR resources. You can also download the HDR Shop to change the image size and reduce computer resource. |
| |
Below are some sample images that are edited by HDR Shop. |
| |
|
|
A-2. |
Apply to props.
According to your design idea, apply HDR image to props that you want. |
|
a. |
Apply a robot that you made, and select the props which you want to add HDR effect in the scene manager. |
| |
|
|
b. |
Apply HDR image in the Reflection Channel. |
| |
|
|
c. |
You can see the difference between using HDR image and not using it as below. |
| |
|
|
| B. Adjust the Atmosphere (HDR, Light, Atmosphere...etc). |
| |
| |
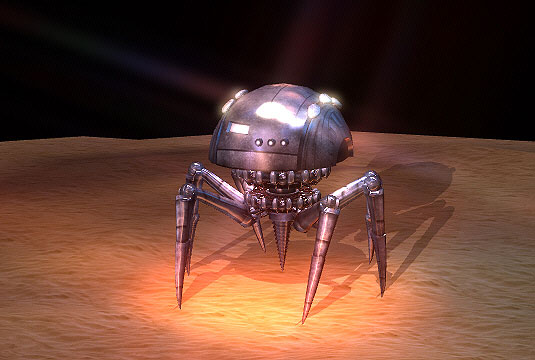
Adjust the Light, HDR, Atmosphere to make more realistic environment. |
|
B-1. |
Set Light/Ambient Light to black. |
| |
|
|
B-2. |
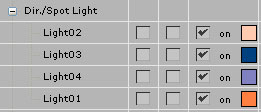
Apply the ground (eg. desert), and adjust the color of lights. |
| |
 |
|
B-3. |
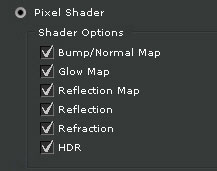
Please make sure that HDR is checked in Preference/Real-time Render Options. |
| |
 |
|
B-4. |
Execute the HDR Effect in Stage/Atmosphere, and adjust the value to what you want. |
| |
|
|
B-5. |
It's done! Please visit iClone 4 Online Help web site for more Atmosphere information. |
| |
 |
|
|
|
| |
|
|
|