Setting Extended Bones - Auto Spring (New for 5.4 and for Pro only)

After the Body bones are mapped and activated, some bones under the body and head nodes can be given spring effects.

Before doing so, you need to set these bones as Extend Bones.

Please first load a bone-skinned model, map and activate the body bones appropriately.

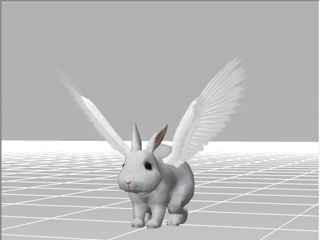
A bone-skinned model is loaded

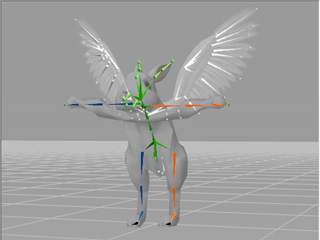
The body bones have been mapped and activated in the Convert to Non-standard procedure.

After finishing with specifying the facial and body extended bones, you may apply spring effects to them. Please refer to the sections below for more information:

Mapping the Facial Extended Bones

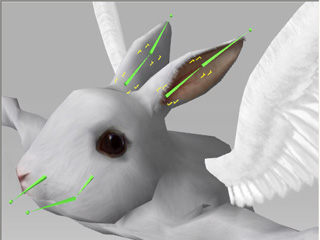
If some of the bones are not involved in bone-driven facial expressions, then they are spare bones and can be set as extended bones (In this case, the ears of the model).
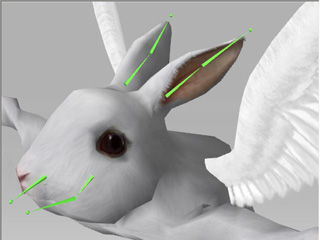
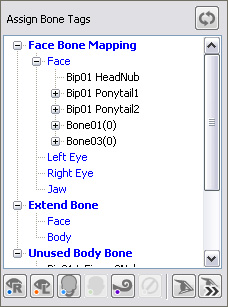
  1. Switch to the Face / Extend Mapping page by clicking the button with a head icon above the dummy pane.

    The modify panel will switch to the Face / Extended Bone mapping mode.
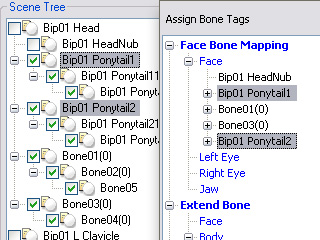
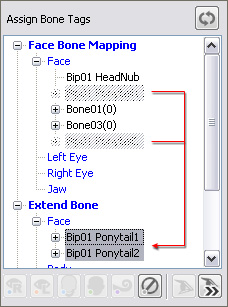
  2. Under the Face node, multi-select the bones that are not involved in the bone-driven facial expressions, and that you intend to apply spring effects to later, from the Scene Tree, 3D Viewer or the Bone List under the Assign Bone Tags.

    Select from the 3D viewer.

    Select from the scene tree or the bone list.

    Note:

    • Switch to the Move or Rotate tools to transform the bone to check if the selected bones are the correct ones.
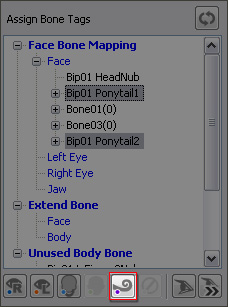
  3. Click the Map to Extended Bone button in order to map the selected bones to the Extended Bone >> Face (blue node) of the standard bone hierarchy.

    Click the Map to Extended Bone button.

    The selected bone nodes will be moved under the Extended Bone >> Face (in blue) node.

    Note:

    • If you find the mapping is incorrect, then click the Map to Face button to move the bone nodes back to under the face node.
    • The extended bones are marked in purple and ready to be given spring effects.

Mapping the Body Extended Bones

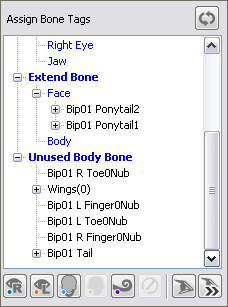
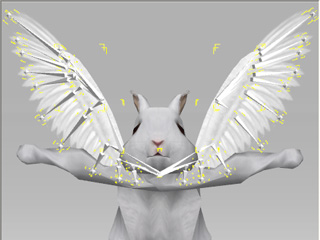
Any bone that is not used in regular body motions can be mapped as an extended bone. (In this case, the wings).
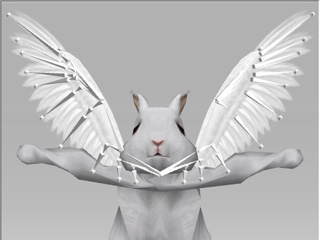
  1. Switch to the Face / Extend Mapping page by clicking the button with a head icon above the dummy pane.

    The modify panel will switch to the Face / Extended Bone mapping mode.
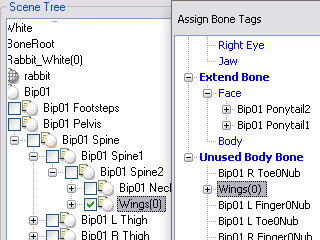
  2. Under the Unused Body Bone node, select the bones that are not involved in the bone-driven body motions that you intend to apply spring effects tolater, from the Scene Tree, 3D Viewer or the Bone List under the Assign Bone Tags.

    Select from the 3D viewer.

    Select from the scene tree or the bone list.

    Note:

    • Please note that these unused body bones are marked in white.
    • Because sometimes it is hard to pick bones one by one from the 3D viewer, if you want to set a string of connected bones as extended bones, then simply select the bone with the highest level from the Scene Tree or the Bone List under the Assign Bone Tags. The entire string under the bone will be set as extended bones simultaneously.
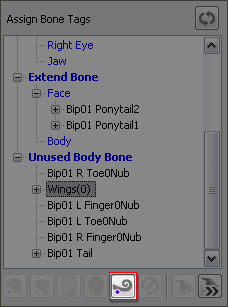
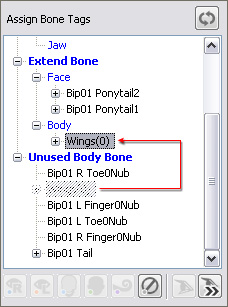
  3. Click the Map to Extended Bone button in order to map the selected bones to the Extended Bone >> Body (blue node) of the standard bone hierarchy.

    Click the Map to Extended Bone button.

    The selected bone nodes will be move to under the Extended Bone >> Body (in blue) node.

    Note:

    • If you find the mapping is incorrect, then click the Map to Unused Body button to move the bone nodes back to unused body nodes.
    • The extended bones are marked in purple and ready to be given spring effects.

    After the extended bones are given Spring Effects, as the character moves or acts, the bones with spring effects will auto-bounce along with the motions.
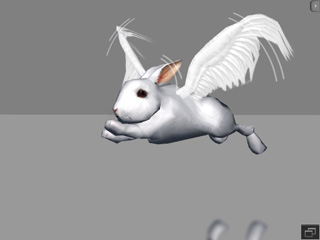
    The ears and the wings tremble with the character's motions in iClone.