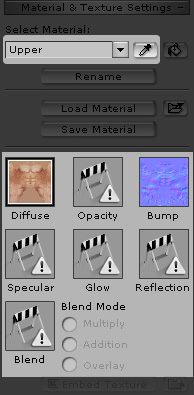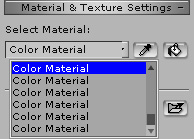
For compound models or models with multiple textures or material settings, it is tedious to search for the target material through the Material drop-down list. Though You can use the up/down arrow keys to browse through all materials if you wish. Applying multiple texture to the target mesh can make a simple model look ultra-realistic.

(As the illustration above shows, SketchUp names all materials that only have a color assignment as Color Material, so their names look the same in the Select Material drop-down list. It is easier to identify textured materials by their jpeg file names.)
In addition to retrieving the images of the six channels, the parameters of the channels are also retrieved. Please refer to the Save and Load Materials section for more information:
The Strength of the textures.
The Refraction and Reflection settings.
The Diffuse, Ambient and Specular colors.
The Opacity, Self-Illumination, Specular and Glossiness strength.
The 2-sided status.
Select the model with the texture you wish to modify.
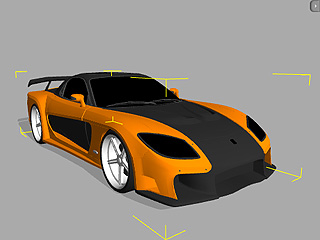
Press the Picker tool beside the Material drop-down list.
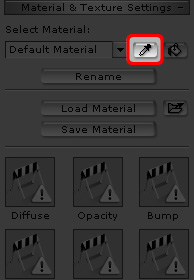
Click on the face with the desired material in the 3D viewer.
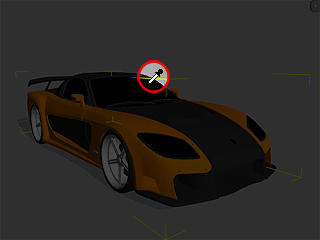
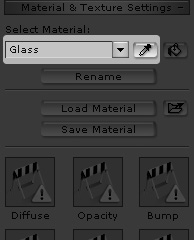
The material of the face is retrieved. You may then modify the settings to change the texture.
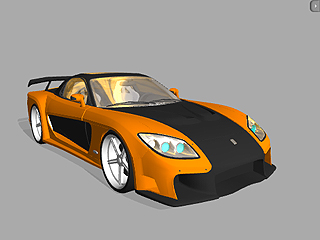
The glass of the car is mapped with reflection and opacity images.
Repeat the steps until all materials of the model are adjusted.

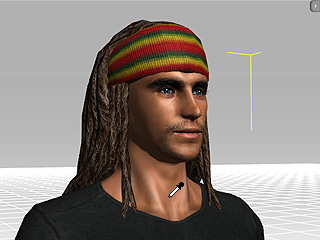
With the material picker, you can also quickly modify any actor's skin texture, including the facial texture, instead of evoking the dialog box.
Pick the actor for modifying. Switch to Actor/Skin.
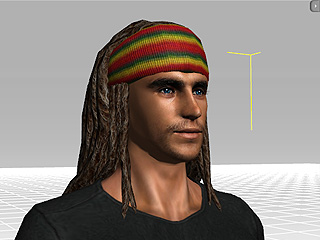
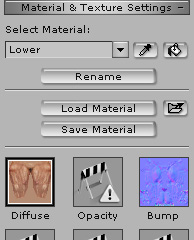
Utilize the Pick tool to click on the body parts to retrieve its material.
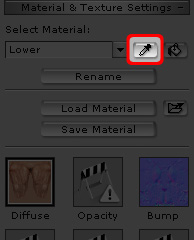
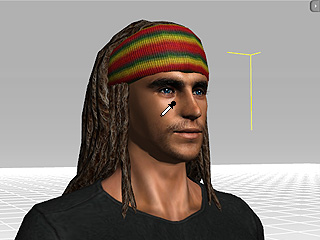
You can then modify the images of the seven channels to change the look of the actor's skin.
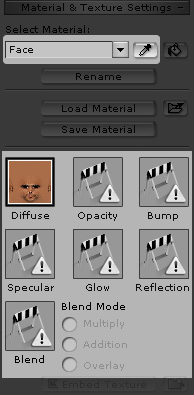
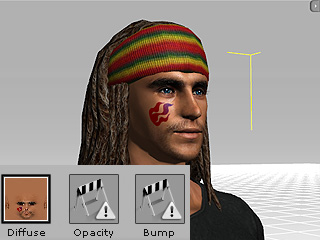
With the Material Picker, you may easily select the textures of the upper/lower body as well.
