| How to assemble Toon characters and change their materials |
|
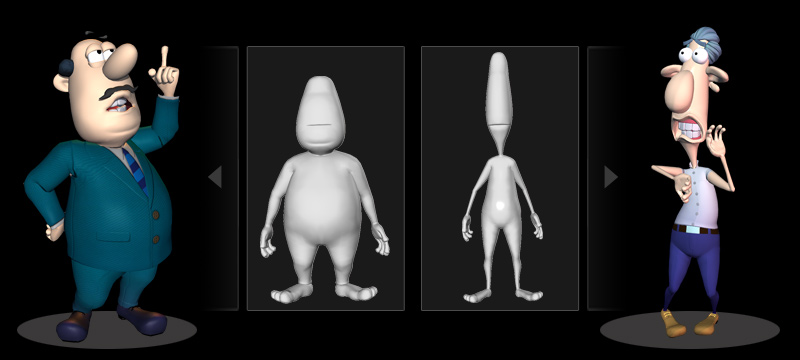
| 1. Go to Actor > Avatar > Toon Maker 2 and drag a ToonMaker base into the stage. |
|
 |
| |
| 2. Assemble facial components and accessories: |
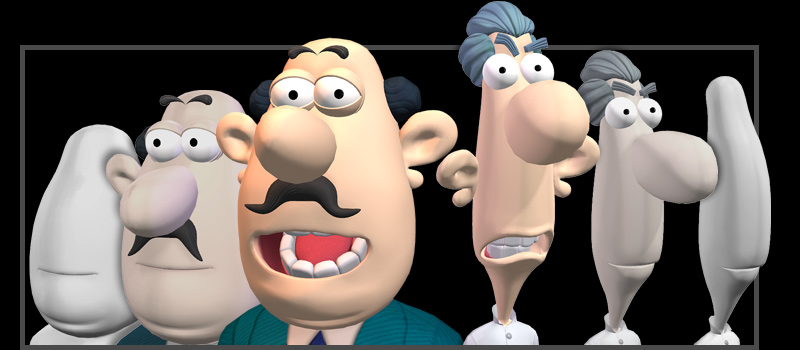
| Go to Accessories > Toon Maker 2 and apply the facial components any way you want to create your character. |
|
 |
| |
| Note: |
| Some facial components or accessories may not be in the perfect position or the size may not be perfect. Select the dummy layer to move, rotate or resize. (Exception: To move, rotate or resize Eyebrows, you need to select the mesh layer.) |
| |
| 3. Change Proportion: |
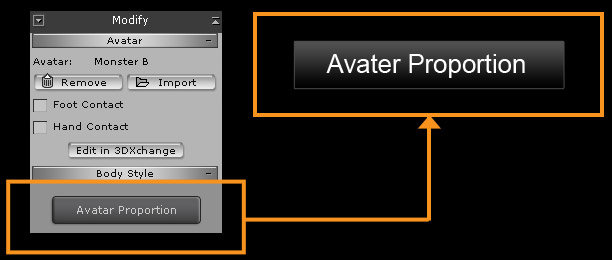
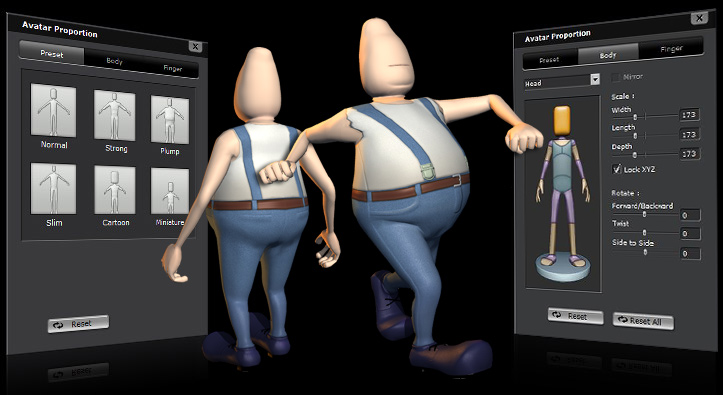
| Click the Avatar Proportion button in the Body Style section in the Modify panel on the right. If you wish to adjust individual body parts, then switch to the Body tab. You can also choose from a number of preset body proportion templates. |
| |
|
 |
 |
| |
| 4. Change Outfits: |
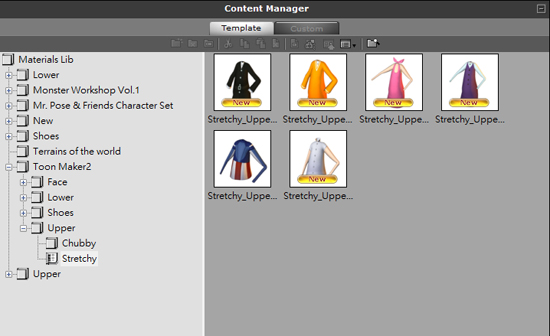
| Go to the Scene Manager and select the character. Then load a material from Media>Material>ToonMaker 2 and select the corresponding character material from the material folders. There are two kinds of style for each character. |
| |
|
 |
| |
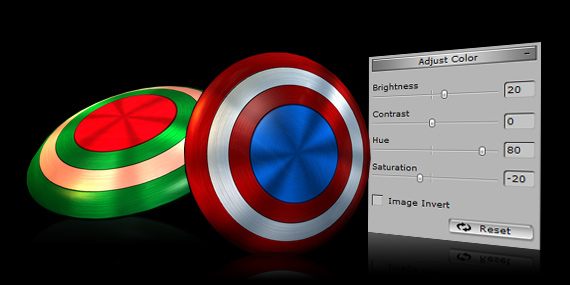
| Moreover, you may also change the character's color. Go to the Scene Manger to select the Avatar, and then go to Upper Body > Modify to change the color of clothes. Choosing Diffuse Map to adjust Brightness,Contrast,Hue or Saturation. Then, you can choose the part you need to change color. |
| |
|
 |
| |
| 5. Apply Accessories: |
| Go to Actor > Accessories . Drag in an accessory to your base character and it will automatically apply to a default location. |
| |
| You may change the color of those accessories, Go to the Scene Manger to select the accessories below the dummy, and then go to Modify to change the color. |
| |
|
 |
| |
 |
| |
| Know more of the control detail, modifying existing accessories, or creating your own puppet accessories, check Avatar Toolkit2 Manual |
| |
 |
| |
|
 |
|
| |


