Moving with Motor - Segway
In the L1 Force category of the Physics Toolbox, there are motors which rotate in different manners. However, instead of rotating where they are as they are applied,
you can also use them to move your custom physics structure; the motors are thus used as the power drivers of the structure. This next example shows how to construct a segway device.
Making a Wheel Roll
-
Apply an Infinite Plane from the Physics Props library to act as the surface for the segway to move along.
-
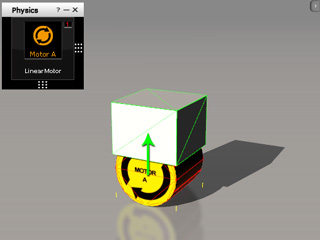
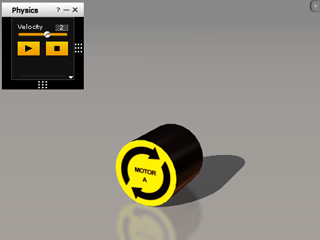
Apply a Motor A and transform it to a cylinder. It will later be the wheel of the segway structure.
-
Play to simulate and the motor rotation. It will remain stationary because it is constrained to the World
(Press Shift + F10 to view the constraint of the motor).
Setting the Wheel Free to Go
-
Apply a box from the 3D Blocks library and position it above the motor. Set the box as Dynamic rigid body.
-
Select the motor again and pick the box as its target.
|
Note:
|
|
Because the wheel takes the box as its target, the Collision Constrained Object feature is deactivated by default, which prevents the wheel from colliding with the box to avoid them repelling each other.
|
-
Click the play button on the Physics panel to start simulating, the box will fall by default because the structure can only move in a linear fashion.
Adding Steering Control to the Structure
Since the main structure can only move in a linear fashion, and the box falls
constantly. You will need to add another motor to control its direction
and simultaneously fasten the box into place.
-
Go back to the start frame and select the box.
-
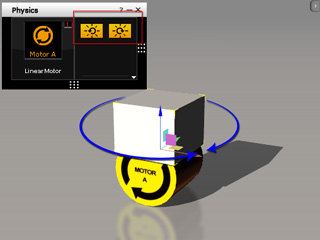
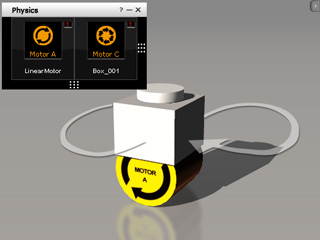
Drag the right border of the Physics Control Tile Panel to show more tile. Double click in the new tile and select the third motor (Motor C) to
insert it as a new control.

-
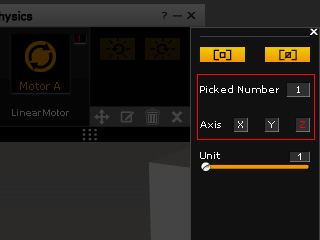
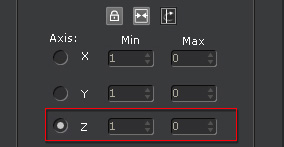
Double click on the blank area of the Motor C control to open the advanced panel. Pick the
box as the controlled target of this motor and set the rotating axis to Z (the local Z
axis of the box).
-
The picking behavior here acts to remove all the present constraints on the target and apply a new one.
-
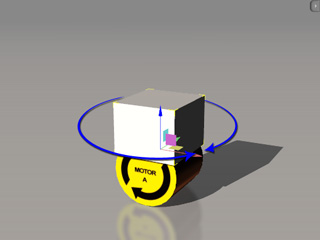
In this case, a new Hinge is applied to the box in which the
Z axis is enabled and set as Free.
-
The direction of the structure can be then determined by the Motor C control buttons.
Keeping the Structure Upright and Mobile
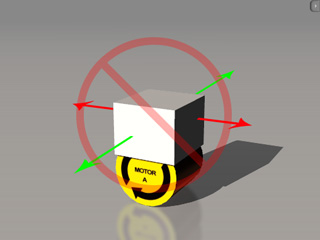
The structure now has a tire (Motor A) and a wheel (Motor C). However, because the hinge applied to the
box is constrained to the World, the segway is locked again
and can only stay where it is even if you increase the velocity of the
Motor A.
To make it remain straight and movable, you need to add another Dynamic rigid body to free the entire structure by following the steps below:
-
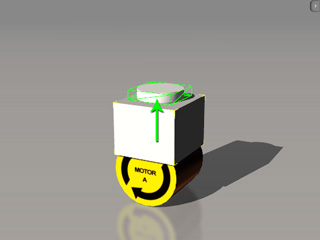
Apply a cylinder and position it above the box. Set it as a Dynamic rigid body.

-
Select the cylinder and press Shift + F10 to show the constraint panel.
-
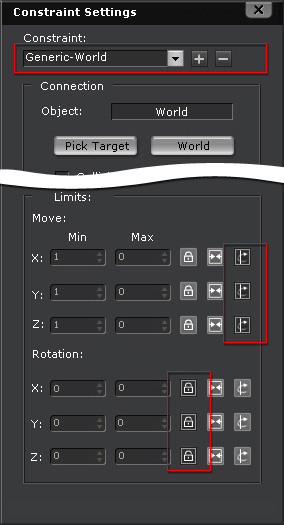
Apply a Generic constraint to the cylinder and adjust to the specifications below:
|
-
Set the connection to the World.
-
Set the X, Y, Z in
the Move section to (Free, Free, Free). The structure is
able to move along the three axes.
-
Set the X, Y, Z in
the Rotation section to (Lock, Lock, Lock)
|
-
Select the box, press the Shift + F10 to open the Constraint panel. The constraint in now connect
to the World.
-
Pick the cylinder as the target.
-
Because the cylinder is free to move along the three axes, the main structure constrained to it can then be controlled and move around the scene by the
Physics panel.
|
Note:
|
-
If you are satisfied with the last result after several simulations, remember to deactivate the Activate Physics boxes for the parts
in the structure to keep the simulated clips.

|


