Select Bump in the drop-down list.
Click the Import  button.
In the bottom of the browser, check the Import as normal map
 box. Select your normal map image and click OK.
Click OK to exit the Adjust the facial texture panel.
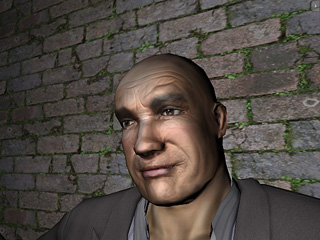
iClone provides the bump map channel to add facial wrinkle effects. You may import the normal maps from iClone program folder \iClone Template\texture\face normal. Using Pixel shader, normal map can create sophisticated texture effects without increasing the face count of the head.
Custom facial normal maps can be generated from ZBrush or 3DS Max, please check our developer forum for the facial map developer resources.
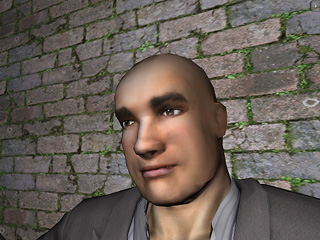
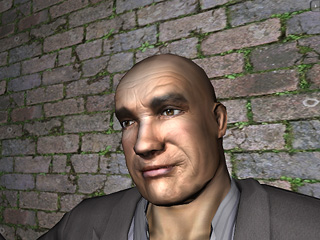
The original head without normal map
Select Bump in the drop-down list.
Click the Import  button.
In the bottom of the browser, check the Import as normal map
 box. Select your normal map image and click OK.
Click OK to exit the Adjust the facial texture panel.
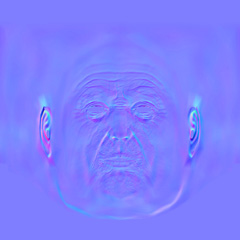
The Normal Map image |
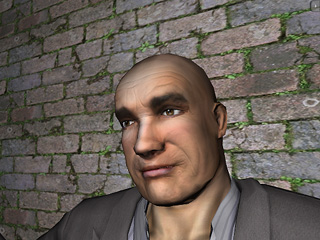
The result after the normal map is applied |
Other than importing normal map via the Adjust the facial texture panel, you have another shortcut to import it.
Go to the Actor/Skin/Modify page.
Scroll down to the Material & Texture Settings section.
Select the Face in the Select Material drop-down list.
Select the Bump channel and click the Import button.
Check the Import as normal map
 box. Select your normal map image and click OK.
Please refer to the Load and Save Materials section for more information.
To enhance the normal map effect after applying, you may need to adjust some objects to enhance the normal map effect.
Click the Head/Texture button to invoke the Adjust the facial texture panel. Increase the Specular value.
The normal map effect turns to be more obvious.
Decrease the ambient color in the Adjust the facial texture panel and the ambient light brightness.
