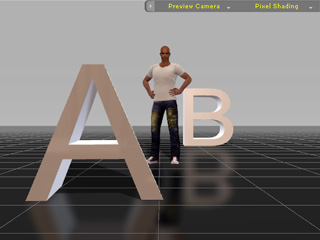
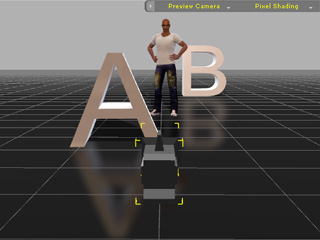
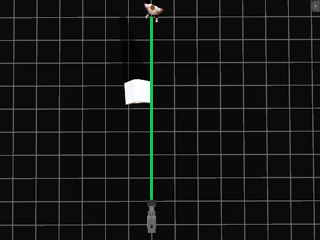
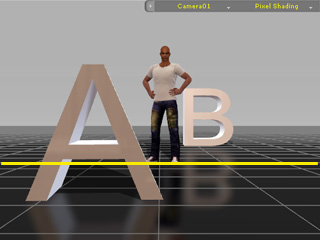
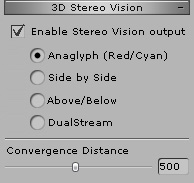
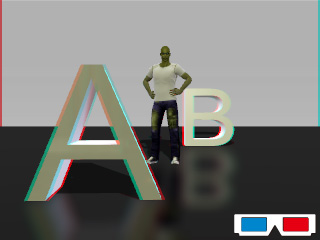
If you would like to create a project with the best 3D stereo results, then please follow the guidelines below. In the below example, the character is set to be the main target:


In order to generate believable 3D stereo content, it is recommended that you create a scene with objects in near perspective, middle perspective and far perspectives.
|
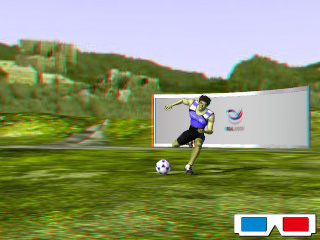
|
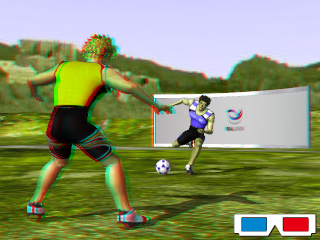
|
|
No front and rear object (weak 3D effect) |
With rear object (3D depth increased) |
With front object (3D sensation increased) |
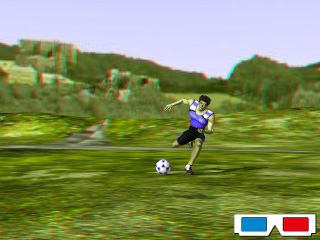
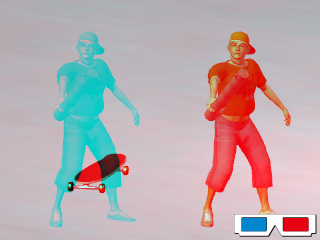
The camera lens may increase or decrease the sensation of 3D stereo depth. Given a same project, a wide angle (low lens value) may provide a more pronounced 3D stereo sensation than a long-take angle (high lens value) may. The higher the lens value, the harder for your eyes to focus on the target object.
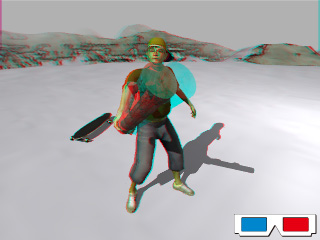
|
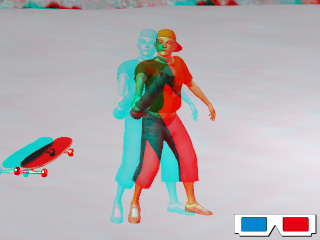
|
|
|
Lens = 20 (Wide-angle shot; 3D stereo enhanced) |
Lens = 120 (Long-take shot; 3D stereo weakened) |
Lens = 200 (Long-take shot; difficult to focus) |
Note:
Any 2D-based effects, such as 2D Backgrounds or Image Layers, may hinder the 3D sensation. It is recommended that you avoid these effects in your 3D stereo projects.
Please refer to the How to... page for more information about how to create an appropriate 3D stereo media.