Use the drop-down list to choose GIF animation, BMP sequence, JPG sequence, TGA sequence or PNG sequence format.
Click the Advance  button
to set image options depending upon your output format.
button
to set image options depending upon your output format.
The export image sequence area is split into 5 sections: Format, Output Size, 3D Stereo Vision, Render Quality, and Output Range. For 3D Stereo Vision related information, please refer to the Creating a 3D Stereo Project section.

Format
Use the drop-down list to choose GIF animation, BMP sequence, JPG sequence, TGA sequence or PNG sequence format.
Click the Advance button
to set image options depending upon your output format.
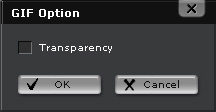
GIF animation
Select the number of colors and transparency options for GIF output. When exporting GIF images with transparency, turning off the Anti-Aliased option will produce cleaner edges.
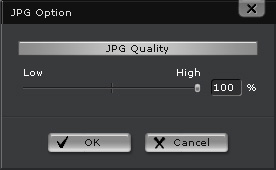
JPG sequence
Use the slider to adjust the JPG quality.
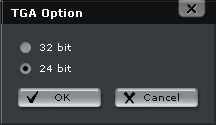
TGA sequence
Select 32 or 24 bit TGA output. 32 bit TGA images containing Alpha channels are more suitable for image and video composition.
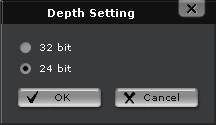
PNG
Select 32 or 24 bit PNG output. 32 bit PNG images containing Alpha channels are more suitable for image and video composition.
Output size
You can define the size of the exported image in the Output Size field. To define output size:
Select either a Standard Size or define a Custom Size using the arrow icons.
Please note that if you activate the Lock Ratio box, you can only adjust the width of the project while the height isupdated automatically in current ration.
Render quality
The render quality can be set to Preview or Final Render using the radio buttons. Check the Anti-Aliased checkbox to export an anti-aliased image. An anti-aliased output will produce an image with less jagged edges and pixelated areas.
Output range
You can either export the entire video, or a specific range of frames. Select the output range using the radio buttons in the Output Range field. You can also set the Frame Rate here using the slider. The output range can also be set using the 2 triangle markers below the play bar.
Click the Export  button to export the video.