Locking and Freezing Camera
Whenever the position or animation of a custom camera is satisfying, you can Lock or Freeze it so you will not select
or move it accidentally (causing additional camera keys to be added) in the preview window.
This allows you to see the camera for reference without the need to hide it via the Scene Manager.
It is recommended to use the Preview Camera when editing the project instead of using locked or frozen cameras.
Lock Camera in Modify Page
-
Create a custom camera. In the preview window, change to the Preview Camera.
-
Manipulate the preview camera until you see the custom camera created in step 1.
-
Optionally animate the camera. Select it when done.
-
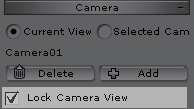
In the Scene/Camera/Modify page, select the Selected Camera radio button
(all the parameters in the modify page will be enabled).
-
Activate the Lock Camera View option.
Freeze Camera in Scene Manager
-
Alternatively, repeat steps 1, 2 and 3 as described above.
-
In the Scene Manager, activate the Freeze option of the camera.
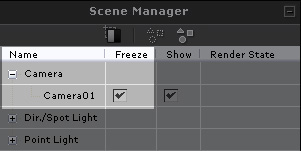
The camera cannot be picked from within the preview window to prevent accidental transformation.
|
Note:
|
|
The Lock and Freeze features only work on Custom Cameras.
These two features are identical.
When you open a file in which the camera cannot be picked or transformed, please make sure it is not frozen or locked.
|