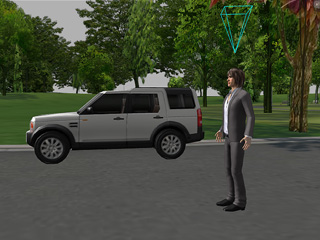
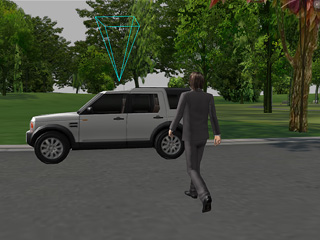
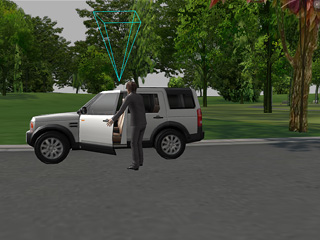
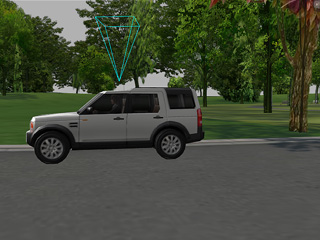
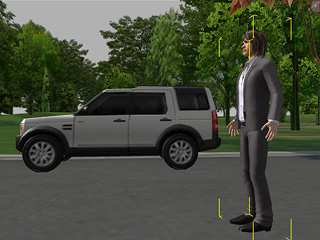
Operate Track
The Operate track is a very unique track since it works only when an interaction between an
Actor and an iProp occurs. After the interaction is finished, iClone
stores the motion from the actor and the animation from the iProp into their individual Operate tracks.
Director Mode
In the Director Mode, you may command your actors and iProps to
Interact via the
Right-click Menu or Hotkeys during the recording process.
Once the interacting process is done the motion and animation from both the
actor and the iProp will be stored right onto their
Operate tracks.
-
Toggle the Director Mode by click the
 button if you are in the other mode.
-
Make sure that you have selected the desired actor to interact first.

-
You may have your actor interact with the iProp through two methods as it is recording:
-
Press down and hold the Ctrl key, and then Single-click
on the desired iProp that you want the actor to interact with.
This method triggers the default interaction for the two objects involved.
-
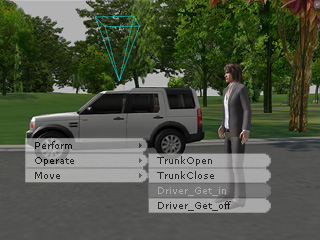
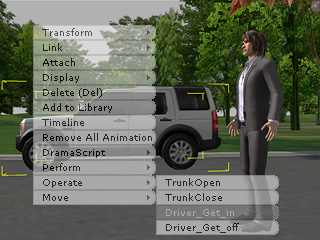
Alternatively, you may right-click on the iProp to pop up
its
Right-click Menu. Select any sub-command in the
Operate
entry.


-
The motion and animation clips will be stored into the Operate tracks
individually as the
interaction finishes.
These two tracks store the motion of the actor and the animation of
the iProp. (The play bar displays the actor-related tracks only.)

Editor Mode
In the Editor Mode, you may also add motion/animation clips into the
Operate
tracks. However, you can only achieve this goal by using the Right-click Menu.
-
In the Editor Mode, click on the actor for
interacting.

-
Right-click on the desired iProp.
-
Select any sub-command in the Operate entry.

-
The motion and animation clips will be stored into the
Operate tracks individually. (The play bar displays the actor-related tracks only.)

Synchronizing
When you click on the clips or keys generated by the
Operate command, all the tracks of the related clips or keys (highlighted automatically)
show up.

Drag a clip or key mentioned above and all other related clips or keys will be moved
in synch to prevent chaotic results.

 button if you are in the other mode.
