Creating New Path
You can create any shape of path you wish either for characters or props.
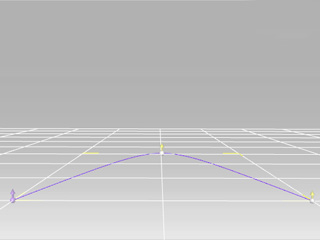
Creating Paths on the Grid
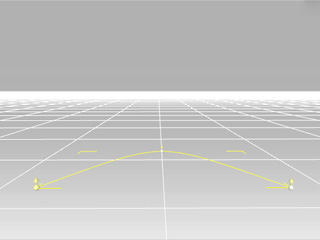
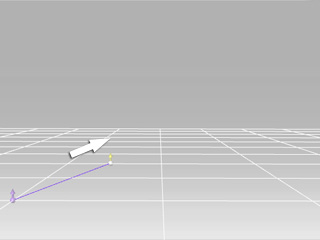
When you are creating a path on the grid, the path pointers will snap to the grid as you go.
-
Press Ctrl+G to toggle visibility of the grid.
-
Toggle to Animation/Path and click the Create Path  button to start.
|
|
|
|
First Control Point
|
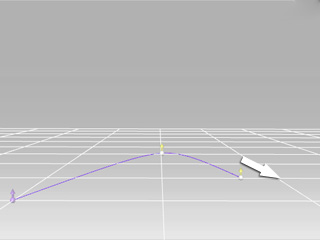
Second Control Point
|
Third Control Point
|
You can click to position the control point and pull to extend the next control point.
-
You may right-click or press ESC to exit.
-
Now, we are done creating the path. We can now modify the color by selecting the
 button besides the Edit Path
 button.

These path colors will serve as ID color to identify which path a prop or character is currently attached to in the timeline.
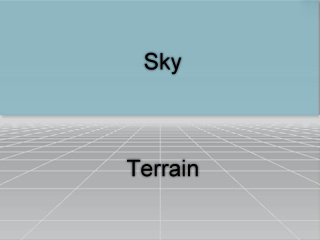
Drawing on Terrain
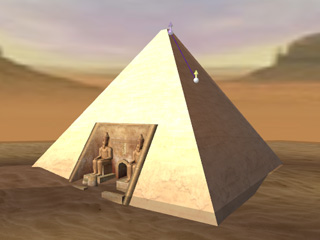
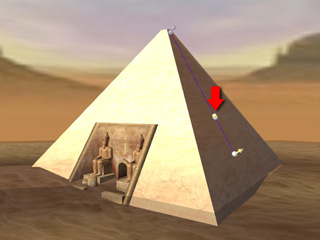
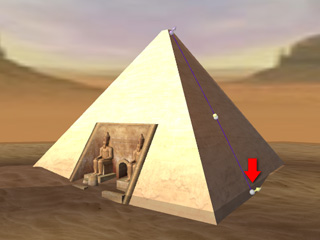
When creating paths on terrain, the control points follow the height and angle of the terrain. Whereas the grid only remains on a flat surface.

|

|

|
|
First Point
|
Second Point
|
Third Point
|
As you can see, the points snap right onto the surface's height once the pointer is positioned.
Drawing in the Sky
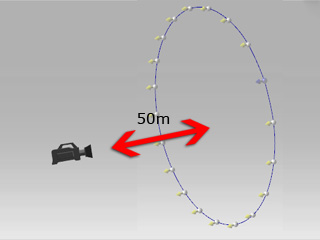
When creating paths in the sky, you create the path from the angle of the camera to the distance of 50m away from the camera.

|
Note:
-
Please do not create path both in the sky and on the terrain, you might get an unexpected result.

In order to get the best result, we suggest you to create a
path on the terrain first, then flip the path to place it in the sky.
|
 button to start.


 button besides the Edit Path
 button.
