Converting Standard or Non-Standard Characters with Motions
When you have a bone-skinned model which contains animations, you can export it via 3DXchange
to other 3D tools along with the original animations so that you do not need to create animations again in the 3D tools by using the key-frame method.
In this pipeline, the format for exporting is FBX because this format
includes both the meshes and the animations. Therefore, it is suitable when your target 3D tools
are Maya, 3DS Max, Unity or Unreal.
Step 1: Loading a Bone-Skinned Model
A bone-skinned model contains bone structure and one or more meshes, while the meshes are
bound to the bones so that when the bones move or rotate, the meshes are
driven to
act along with the bones.
The sources of the bone-skinned models can be:
-
FBX files from Maya, Max, DAZ 4, and
Shade. However, you need to first
characterize them into non-standard characters before proceeding this pipeline.
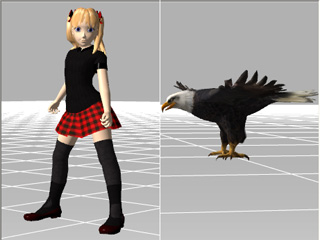
|
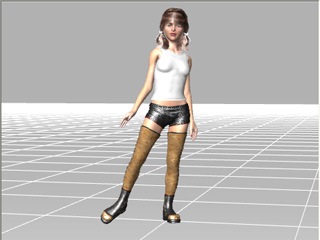
|
|
Bone-skinned biped models from Maya or Max.
|
Character from DAZ 4.
|
-
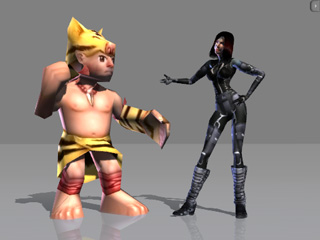
iAvatar, iProp and VNS from iClone.
Please refer to The Influences of DRM and License Mechanisms on Exporting Assets section for more information about
the limitation for exporting iClone assets.
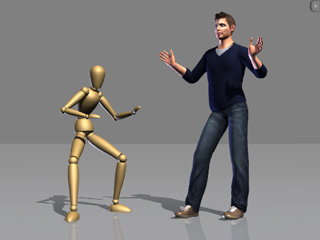
|
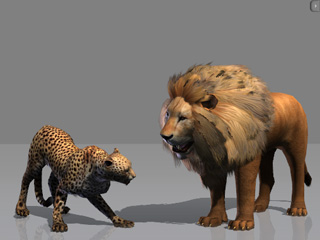
|
|
|
iAvatar: Standard or non-standard characters.
|
iProp: Bone-skinned props. However, you need to first
characterize
them into non-standard characters before proceeding this pipeline.
|
VNS: Earlier formats of standard or non-standard characters of iClone.
|
Step 2: Adding the Motions to the Perform Editor
-
Scroll in the Modify panel to the Animation section.
-
Manually drag and drop standard character motion files into the Motion Library; select one of the
motions and click the play button to preview.
Please refer to the Using Motion Library section for more information.

|
Note:
|
-
If you load a bone-skinned iProp, then its embedded motions will also be
automatically loaded into the Motion Library and be
converted to standard character motions after you
characterize it.
-
Click the Explore button to browse to the default folder for storing the
iClone standard characters motion files.
Windows XP: C:\Documents and Settings\All Users\Documents\Reallusion\Template\iClone 5 Template\iClone Template\Motion
Windows 7 or above: C:\Users\Public\Documents\Reallusion\Template\iClone 5 Template\Motion\
|
-
Add desired motions into the Perform Editor. Only
motions added into the Perform Editor
are the candidates for FBX export.
Please refer to the Using Perform Editor section for more information.

Step 3: Exporting the Model in FBX Format
-
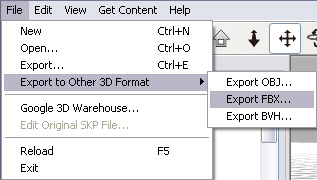
Execute the File > Export to Other 3D Format > Export FBX...
command..
-
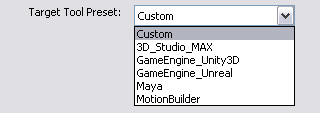
In the Export FBX panel, use the Target Tool Preset drop-down list to auto-load the settings
for the target 3D tools.
Please refer to The Settings for Exporting an FBX File section for more information
about the details of the settings.
|
Note:
|
|
If the target 3D tool is Unity and Unreal, and you want to export more than one
motion of the model,
then the export method is a little bit different. Please refer to the
Exporting Settings for Unity and Unreal
section for more information.
|
-
Click the OK button to export the model along with its animations in FBX format.
Step 4: Loading FBX in 3D Tools
Import the FBX file into your target 3D tools (Maya, 3DS Max,
Unity or Unreal) with the settings below:
-
Maya (FBX plugin 2012.2 version or above)

-
Select the Add item from the File content drop-down list
in the Include section.
-
Activate the Animation box in the Animation section to import the included
animations in the FBX file.
-
3DS Max (FBX plugin 2012.2 version or above)

-
Select the Add item from the File content drop-down list
in the Include section.
-
Activate the Animation box in the Animation section to import the included
animations in the FBX file.
-
Unity: No specific settings need to be done. However, the geometry and the animation files must be
individually imported.
-
Because the animations are isolated into different FBX files, you need to import them into the
project panel respectively.

-
Unreal: Since the settings for Unreal
are complicated, please refer to
Loading FBX Standard or Non-standard Characters and Motions to Unreal section for more information.
|
Note:
|
-
Please note that, following this pipeline, the Animation FBX files
are customized to their character. Applying the animation
files to any other characters in other 3D tools may present faulty results.
-
If you want to export iClone motions to
characters made by Maya or 3DS Max
with their embedded bone structures, then please refer to the
following section:
|


