In the Output page, click on the Media tab.
Enable the 3D Stereo Vision box. Choose the Anaglyph (Red/Cyan) or Side by Side radio button.
Drag the slider to define the value for Display Distance.
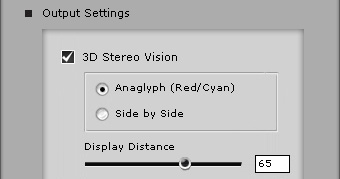
If you want to output a 3D stereo media, then please follow the steps below:
In the Output page, click on the Media tab.
Enable the 3D Stereo Vision box. Choose the Anaglyph (Red/Cyan) or Side by Side radio button.
Drag the slider to define the value for Display Distance.

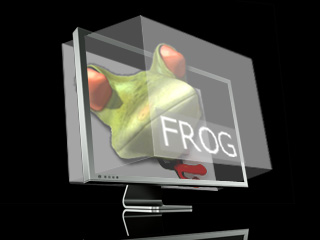
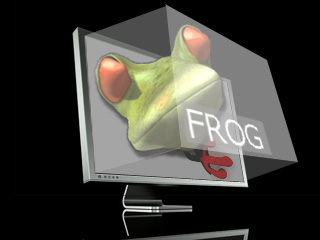
The Display Distance value decides the convergence distance as you playback the output media. The higher the value, the closer the objects tend to pop-up in relation to the convergence point. The lower the value, the farther the objects move to the back of the convergence point.
In the illustrations below, the CrazyTalk project is taken as a box with the character and comic effects integrated.
|
|
|
Display Distance = 0 |
Display Distance = 100 |
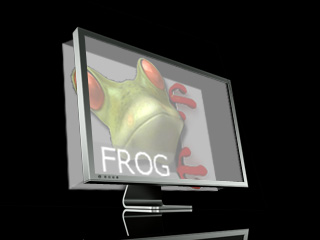
Take note that the profile of the character may affect the depth value of the whole 3D stereo project. For more information, please refer to the Specifying Face Orientation and Style.
|

|
|
Profile Strength: Weak (Display Distance = 0) |
Profile Strength: Strong (Display Distance = 0) |
Since all CrazyTalk projects are layer-based, the user should properly arrange all special effects and characters for a better 3D stereo result. .
There are 4 layers in one CrazyTalk project:
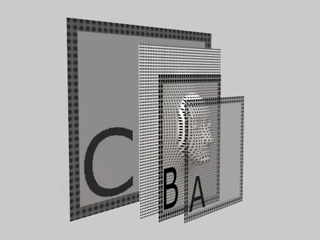
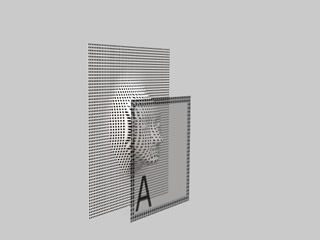
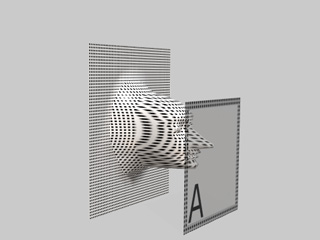
Layer A: This layer shows the effects on the SFX track. It is located at the top of the character's nose. If the face profile is strong, then Layer A will be farther away from the character.
|
|
|
Low Profile Strength |
High Profile Strength |
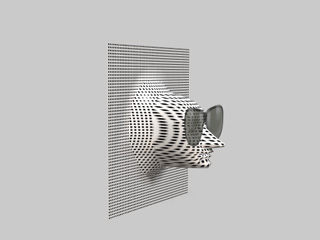
Layer B: This layer shows the effects on the SFX-Swap track. It is located between the character and Layer A. Also, depending on the personality of the comic effect, the layer may be at the position of the eyes, nose or mouth.
|
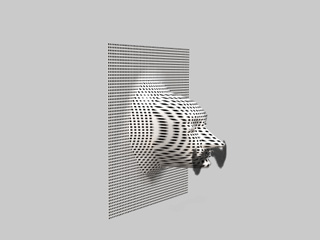
|
|
Glasses Comic Effect |
Mustache Comic Effect |
Character Layer: This is the character layer. You may use the mask feature to cut out the character.
Layer C: This layer shows the background color or image. When the SFX-Swap track contains effects, and it is swapped to the back of the character, the effect will superimpose itself on this layer.
If you want to prevent depth conflict issues in your 3D stereo media, then please follow the rules below:
Always set the Text SFX, the Full Screen, Transition, and the Illustration effects on SFX Track .This will ensure they are on Layer A.
Always set the facial related comic effects on SFX-Swap Track to ensure they are on Layer B.
Please remember that the effects in the SFX-Swap track will always be put onto Layer C if the status of the track is set behind the character.