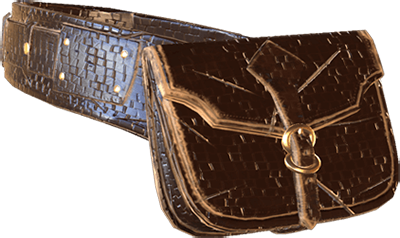
Character Creator with visuals for industry standard PBR shaders allows users to import PBR textures made with 3D paint tools like Substance Painter, 3D Coat, or
Quixel. Users can now export their Character Creator assets to iClone, Unreal, Unity, or
Sketchfab with the same PBR visual quality.
Additionally, we have introduced an Appearance
Editor and a brand new PBR-based dynamic texture generator that give users full procedural
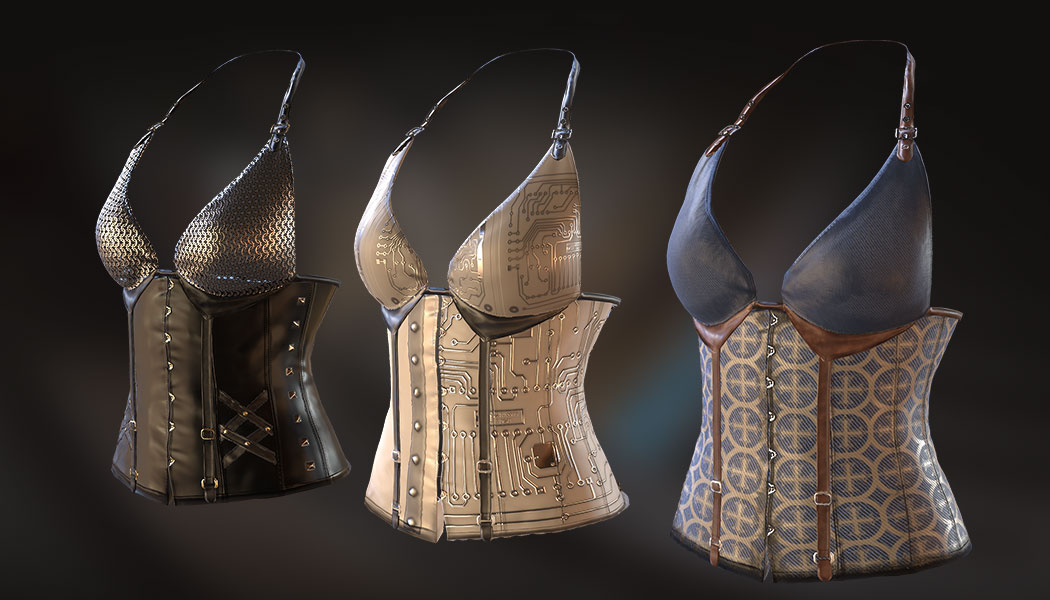
authoring over Metal, Wood, Leather, and Fabrics - pushing visual realism to a new high. For
Non-PBR content, CC offers several ways to get legacy content ready for PBR
rendering. Users will find that a visual upgrade has been provided for all older assets.
Choose from a range of base leather patterns like cow, crocodile leather, and others to recreate authentic leather works.
Cow
Crocodile
Snake
Add more realism to your leather with edge wear, wrinkles, folds, scratches, and grit.
Variation
Scratch
Fold
Use Color-ID maps to define different material allocations, complete with contrast and varnish, to give additional design variations.
Cow
Crocodile
Snake
Freely define your own wood products by combining custom strains, knots, cross grains, rot effects, along with color varieties.
Maple
Cherry
Smoke
Give your wood material a rough-authentic look by adding paint peels, gashes, scratches, normal depth, and edge wear.
Rot
Paint Peel
Cut
Polish your wood with sanding, and varnish coatings for a combined material look. Add patterns and marks by using the Plaid and Decal tools (transparent PNG).
Start your metal works from pre-defined metal types like: pure, faceted, dotted, chainmail, or platemail. Alter the tiling scale, or load your own images to define the patterns.
Faceted
Scale Armour
Chainmail
Let metals oxidize and reveal their true nature. You can add surface abrasions, blemishes, or rust in recessed area, for truly rough and dingy surfaces.
Blemish
Rust
Abrasion
Combine multiple metal types to give contrast. Simulate crease paint marks, or dust gathered on the top surface for an even more realistic look.
Create your fabric from predefined garment types like: cotton, denim, linen, lycra, nylon and wool. You may alter the tiling scale, or load your own images to define specific patterns.
Linen
Nylon
Denim
Add dust, dirt, stains and edge wear to give your garments a truly authentic real-world look.
Dust
Stain
Dirt
Use Color-ID maps to define clothing for different parts such as; leather in the collar, main body portion tiled with graphics patterns, or the chest area is stitched with a decal logo.
Use the input maps function to load your own textures for complete material design freedom, or
load color ID maps to define material allocations, decal maps for custom logos, pattern maps
for custom tiled patterns and effect maps for custom procedural effects.
The new Color Adjustment interface unifies all color adjustment parameters in one pop-up panel so that you can multi-select target materials, click on the desired texture channels and instantly modify them. The same interface can effectively help improve PBR roughness and metallic texture adjustments, as well as softness and image inverting.
Instead of a long list of adjustment options, the Character Creator PBR Appearance
Editor has organized its interface into a hierarchical list, allowing users easier access to
target channel via a scene tree structure.
When users load a non-PBR cloth asset, the editor automatically transfers all mesh data for
procedural material processing. It can also layer effects such as blemishes or edge wear
directly to your custom textures.
The UI Structure of PBR
Substance
Illuminating your characters with natural lighting is now possible thanks to Image Based Lighting. You
can switch between different IBL effects with the Atmosphere library, or you can load your own High
Dynamic Range Images (HDRi) in EXR or HDR formats
You can also soften the sky background to achieve a more natural DOF viewing experience; sync the IBL
to the sky sphere, alter the IBL view angle, or change the background color to create different light
schemes at one time.
See tutorial: Intro to Lighting
& Shadow